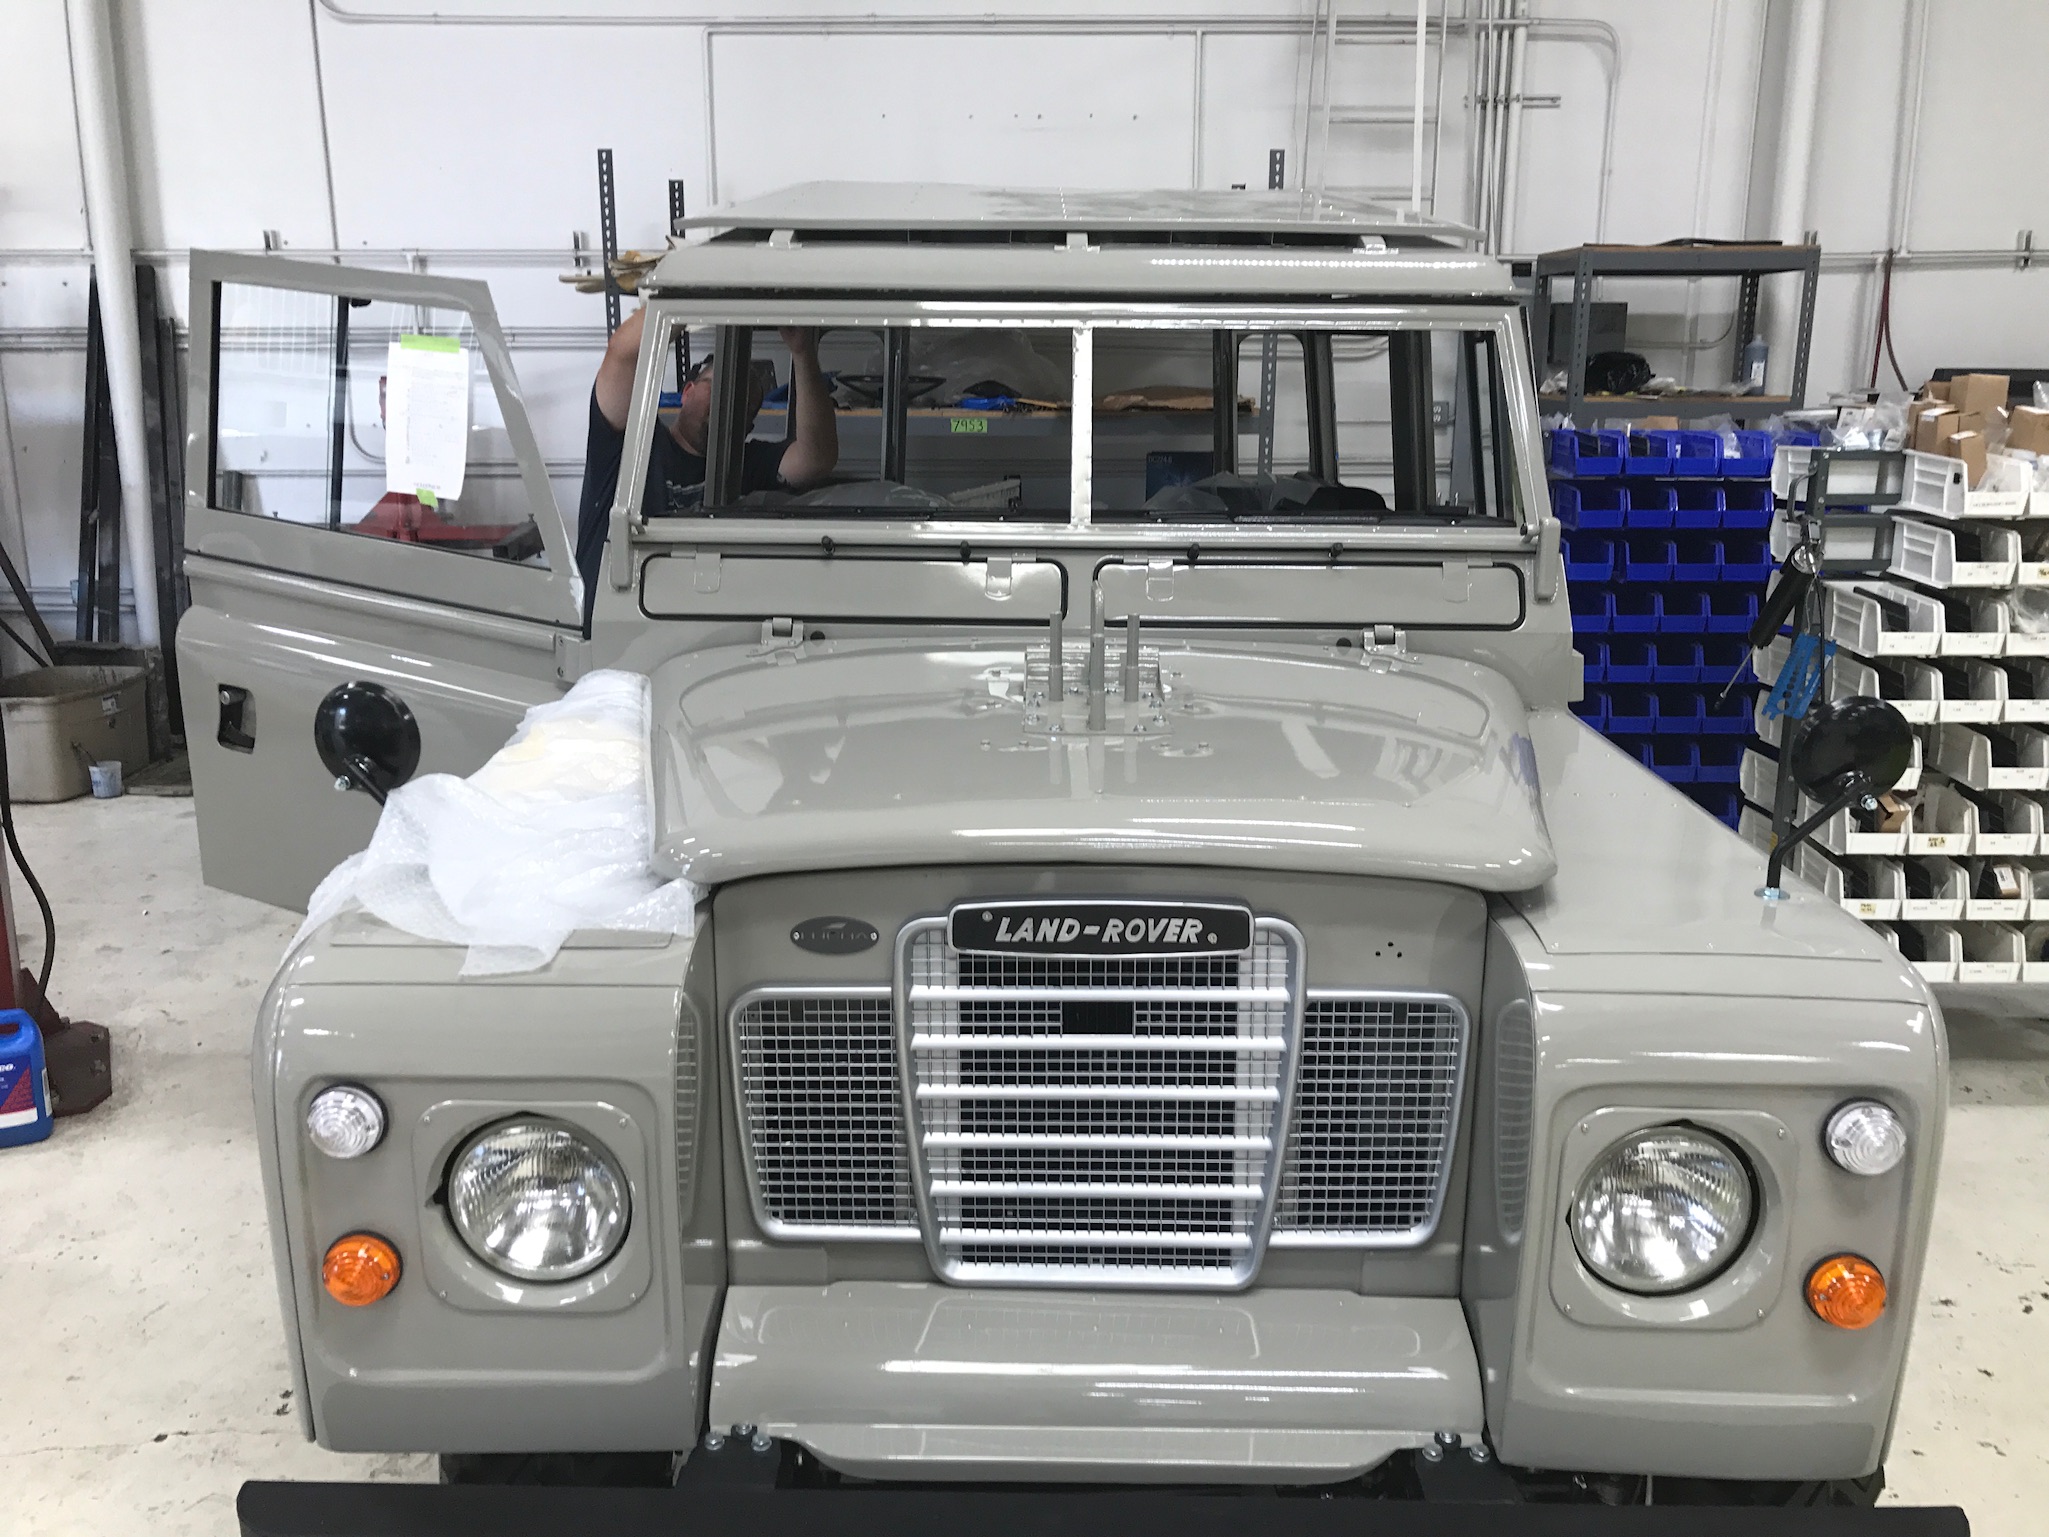
Home stretch

Update from Mr. Wolf: “I have been driving the truck today and it has been great. One little gremlin came up (the fuel cut-off cable came loose, easy fix), but I feel like we are in the home stretch here. The odometer is going to roll over 1,000km today!” I had to ask about the “fuel cut-off cable.”

Because diesels don’t need any electricity to run, turning the key off doesn’t stop the engine, so you pull a little knob next to the key to manually cut fuel flow to the engine. It’s pretty neat.

I won’t share the full list but here are the kinds of things he’s been finding and fixing.

  • R&R left rear hub seal and change gear oil
  • Reassemble rear brakes, bleed system, lube all zirc fittings, adjust brakes
  • Reinstalling and modifying filler neck
  • Front spring shackles installed properly, problematic Britpart steering damper removed
  • Disassemble rear suspension, grease all shackles and bolts, reassemble.
  • Replace incorrect hardware holding the grill on
  • Final adjustment on brakes
  • Replace & rewire glow plugs (one failed out of the box, replacement ordered)
  • Re-adjust idle speed and all throttle linkage
  • Re-wrap passenger side wiring harness with 3M friction tape

This is the attention to detail someone gives their own truck.
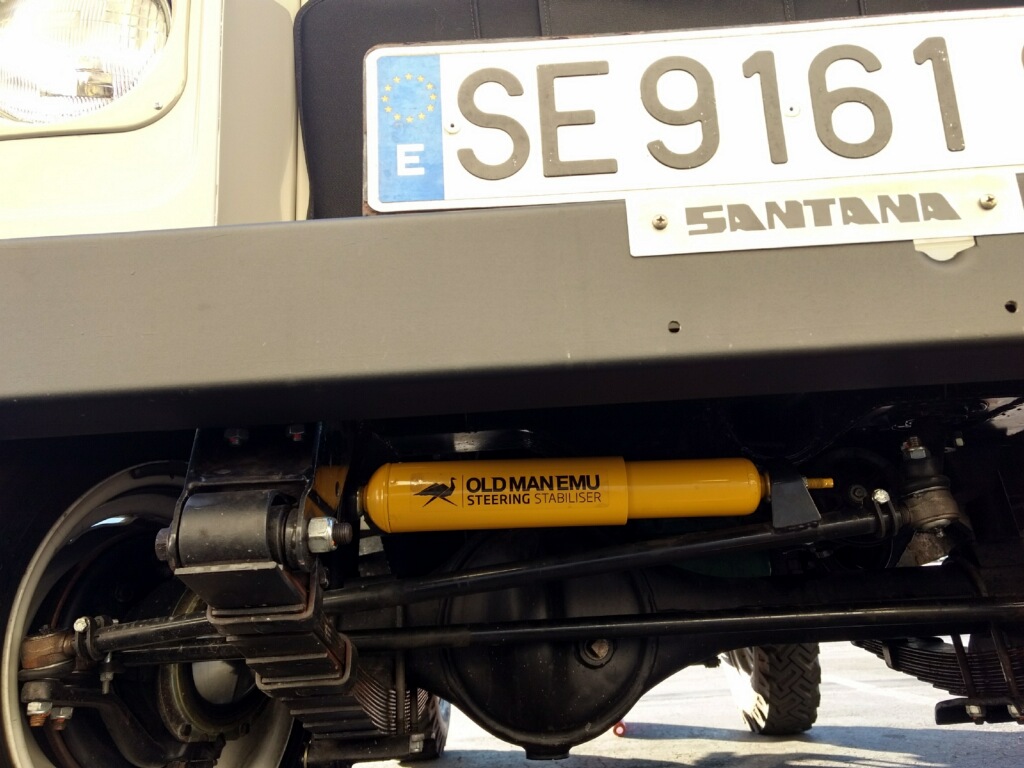
Steering Stabiliser

Last week Mr. Wolf added a steering stabilizer to the truck. I’m guessing the only way to know if you need a steering stabilizer — or that the one you have isn’t working — is by driving the truck.

“The steering stabilizer’s primary function is to dampen or stabilize the side to side movement of the wheels in much the same way shock absorbers limiting excessive suspension movement & oscillation. Steering stabilizers are a necessary component because it helps to absorb bump-steer and flighty steering issues.”

At last check Mr. Wolf had put 700+km on my truck (I’ve come to think of it as our truck) so he’s probably getting close to the targeted 1,000km. When restoring a 40-year-old truck, there’s just no way to find all the problems without driving it. More importantly, knowing what to look/listen/feel for while you’re driving it. This is where Mr. Wolf has earned his commission (and then some).

Storage compartment

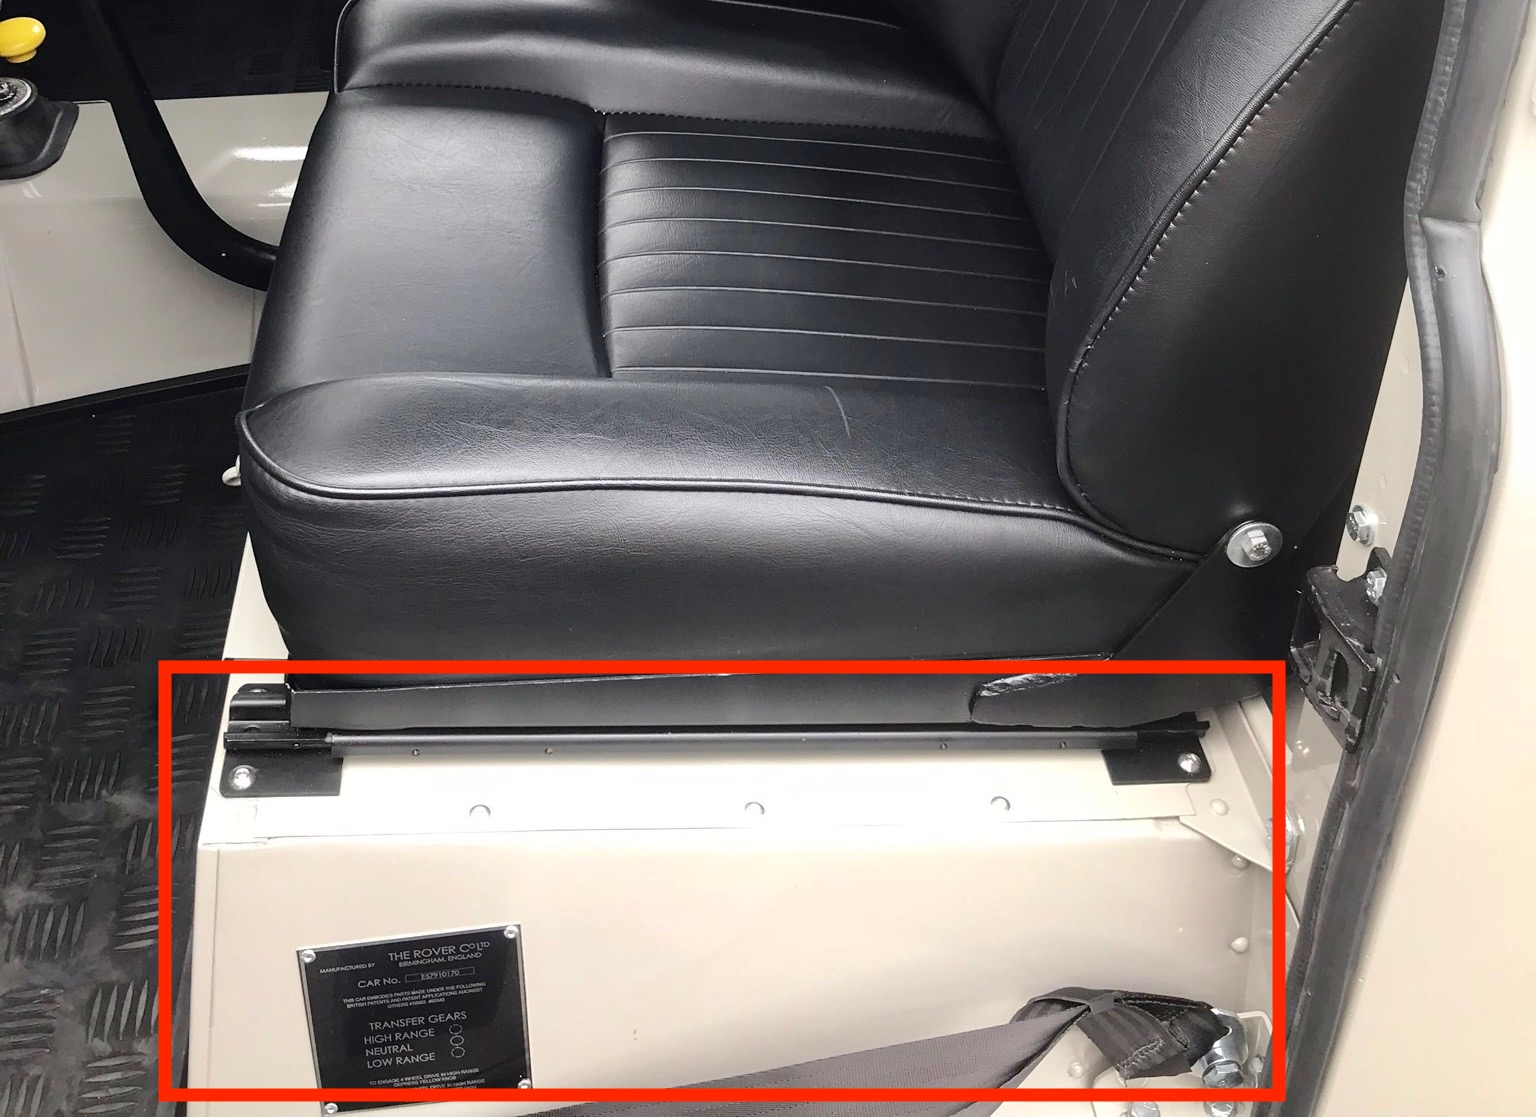
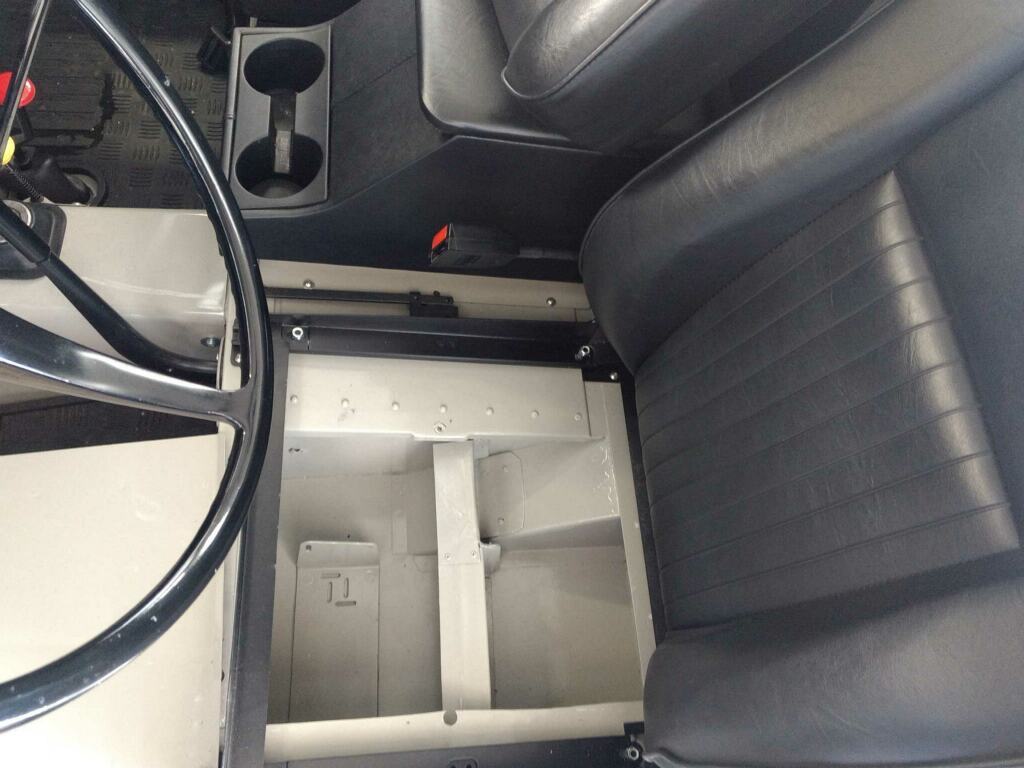
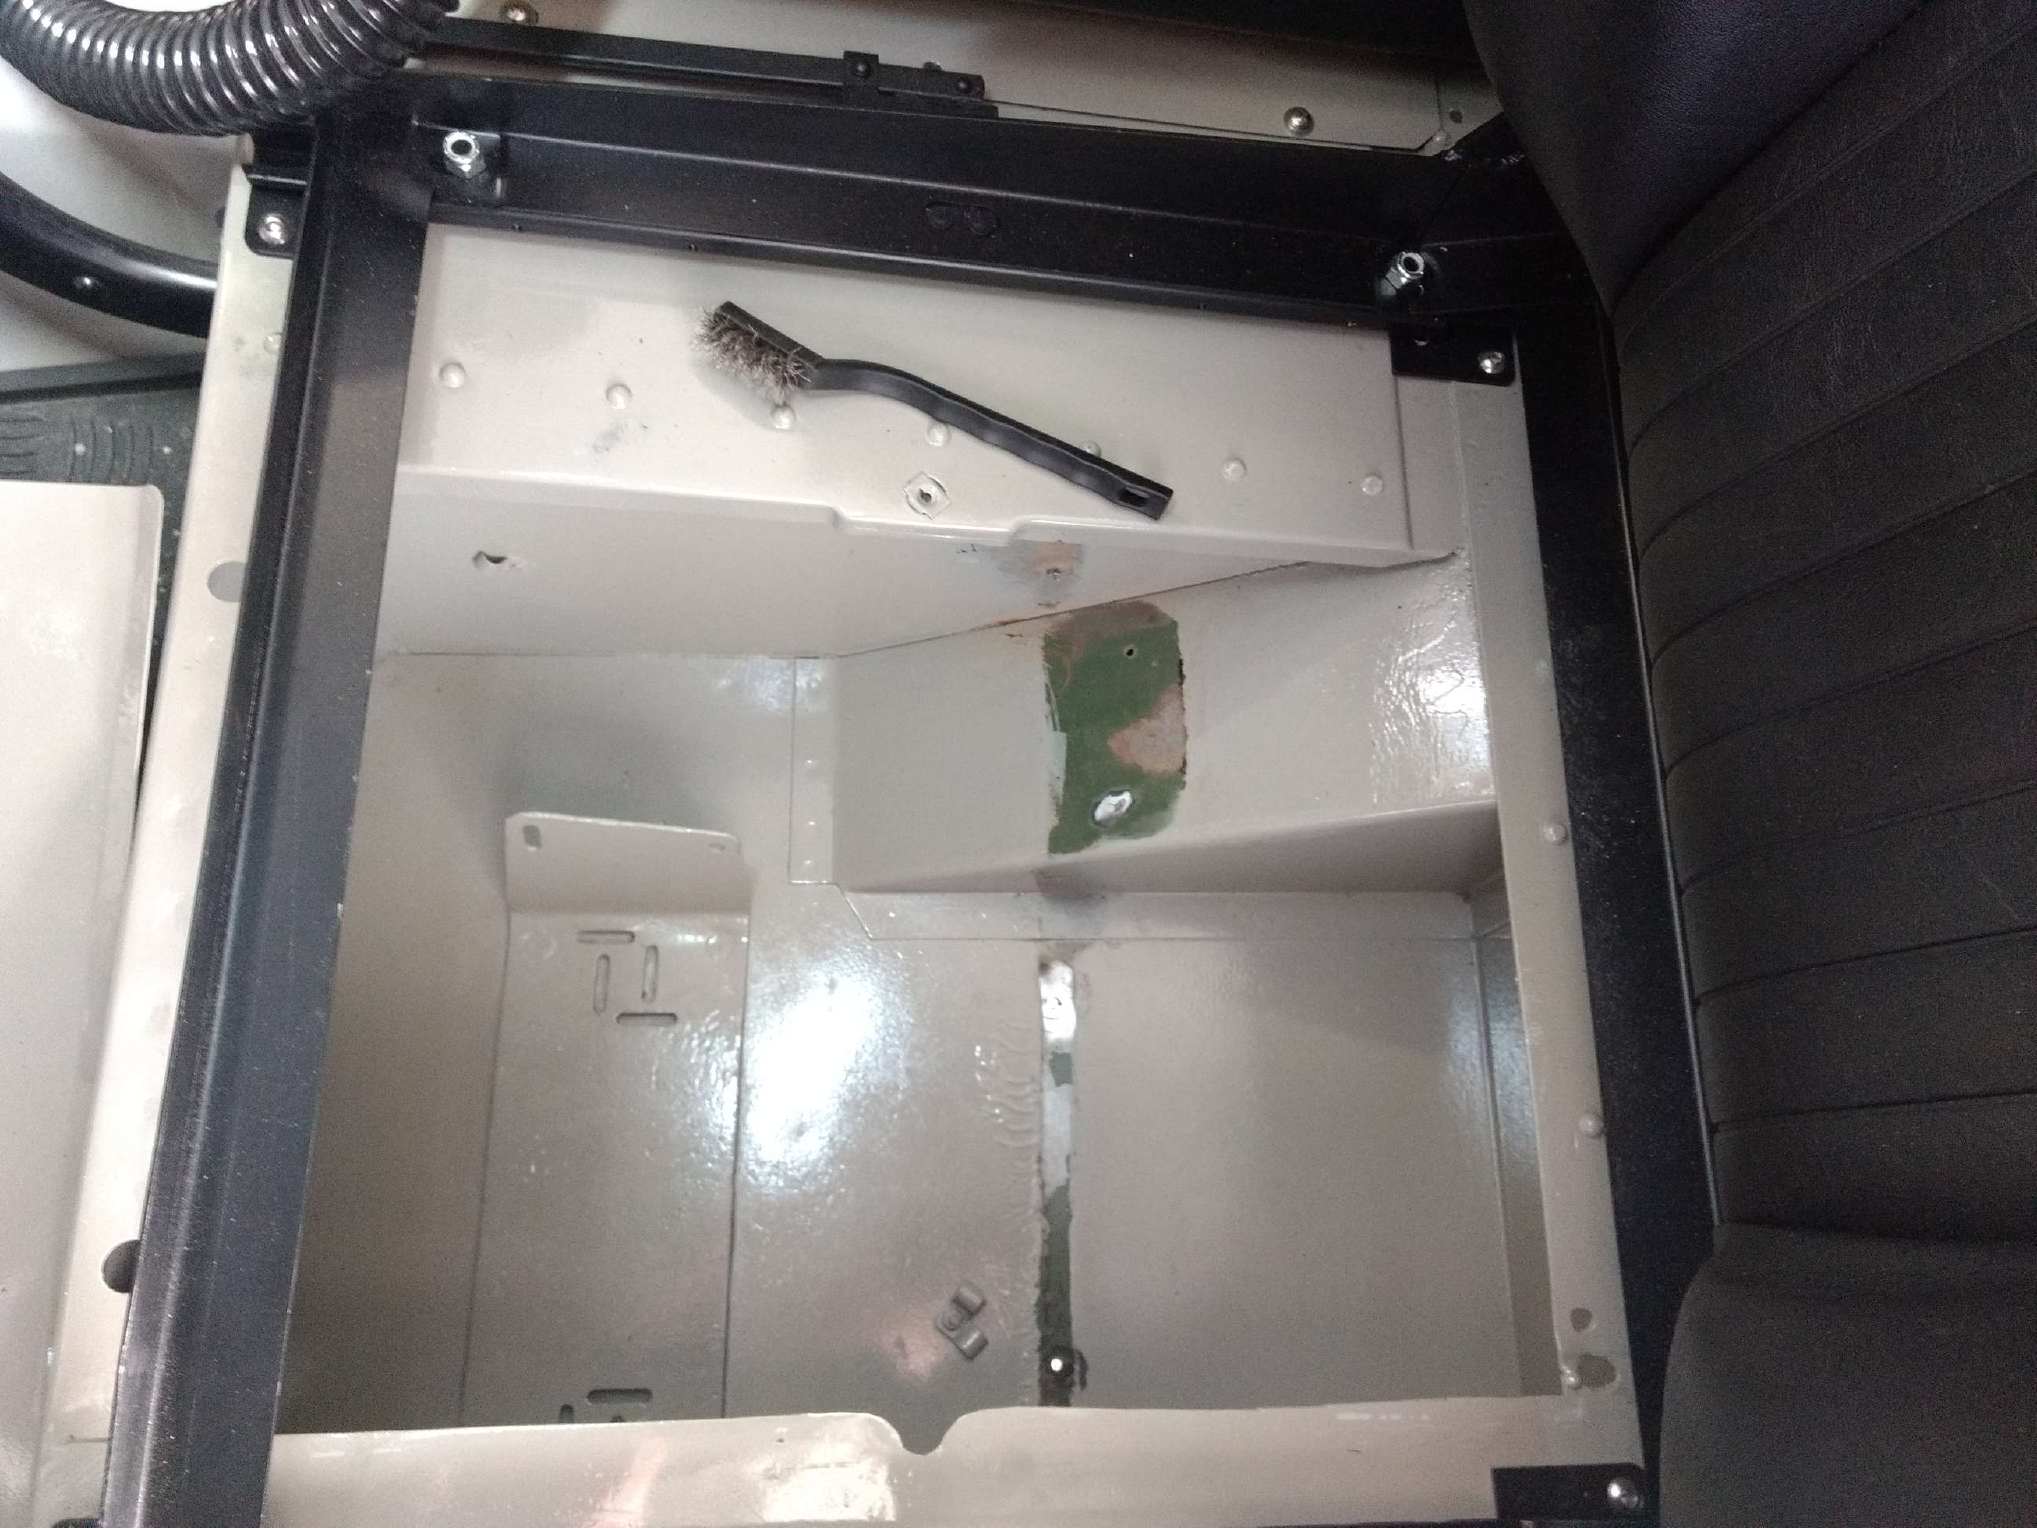
One of my favorite features of older Land Rovers is the storage compartment under the driver’s seat. (Prior to Series III, I think this is where they put the battery but I’m not sure about that). The space is about 18 inches square and maybe 8 inches deep at the midpoint. No idea what I’ll use it for, perhaps a small bottle jack and some hand tools? I rarely go anywhere without my MacBook and frequently leave it in the car so I might stow the laptop here. There’s a small hasp for a padlock.

Someone (original?) had installed a divider at one point but I had Mr. Wolf remove that. He’ll brush on some paint but leave a couple of spots showing the original green color of the truck.

Looking at the photos above, I’m reminded these seats are for the Defender model. Not the original Series seats, which easily folded up to give access to this compartment. If that is no longer the case, I’ll wind up storing stuff I don’t often need.

Patching the patch

When they started the restoration of my Land Rover it was with the intention of putting a soft top on it since the prospective owner lived in southern California. Near the end of the restoration I asked about putting a hard-top on the truck and they found one. (During the warm summer months, I’ll switch to a soft top)

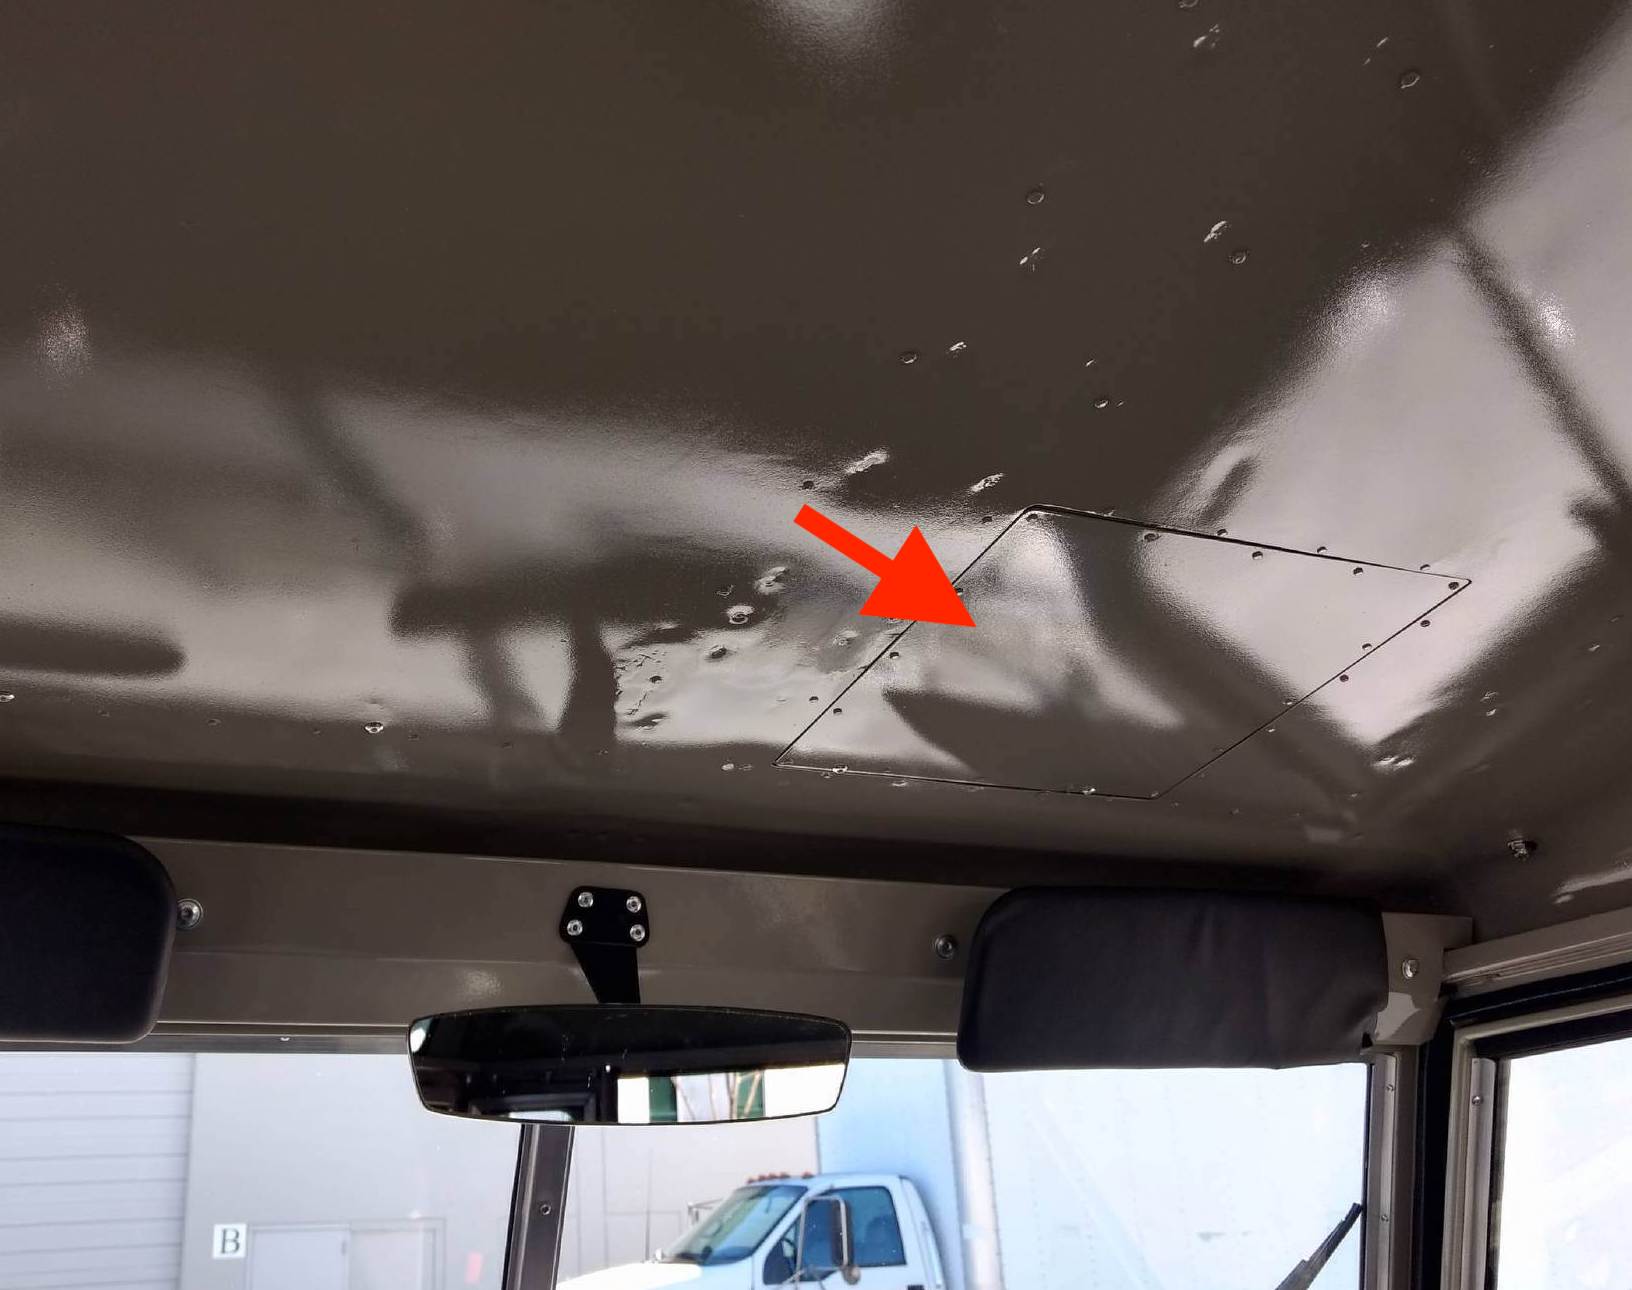
Following a recent power-wash, Mr. Wolf noticed more water the cab than he thought should be there and concluded it was coming from a mystery patch over the passenger side of the cab.

Fix A would involve some hours and additional expense. Fix B is putting some “grey goop” on the patch and worry about it later if water is still getting in. This “escape hatch” is part of the main roof and not in the “safari top” so it’s unlikely water would ever be pouring in.